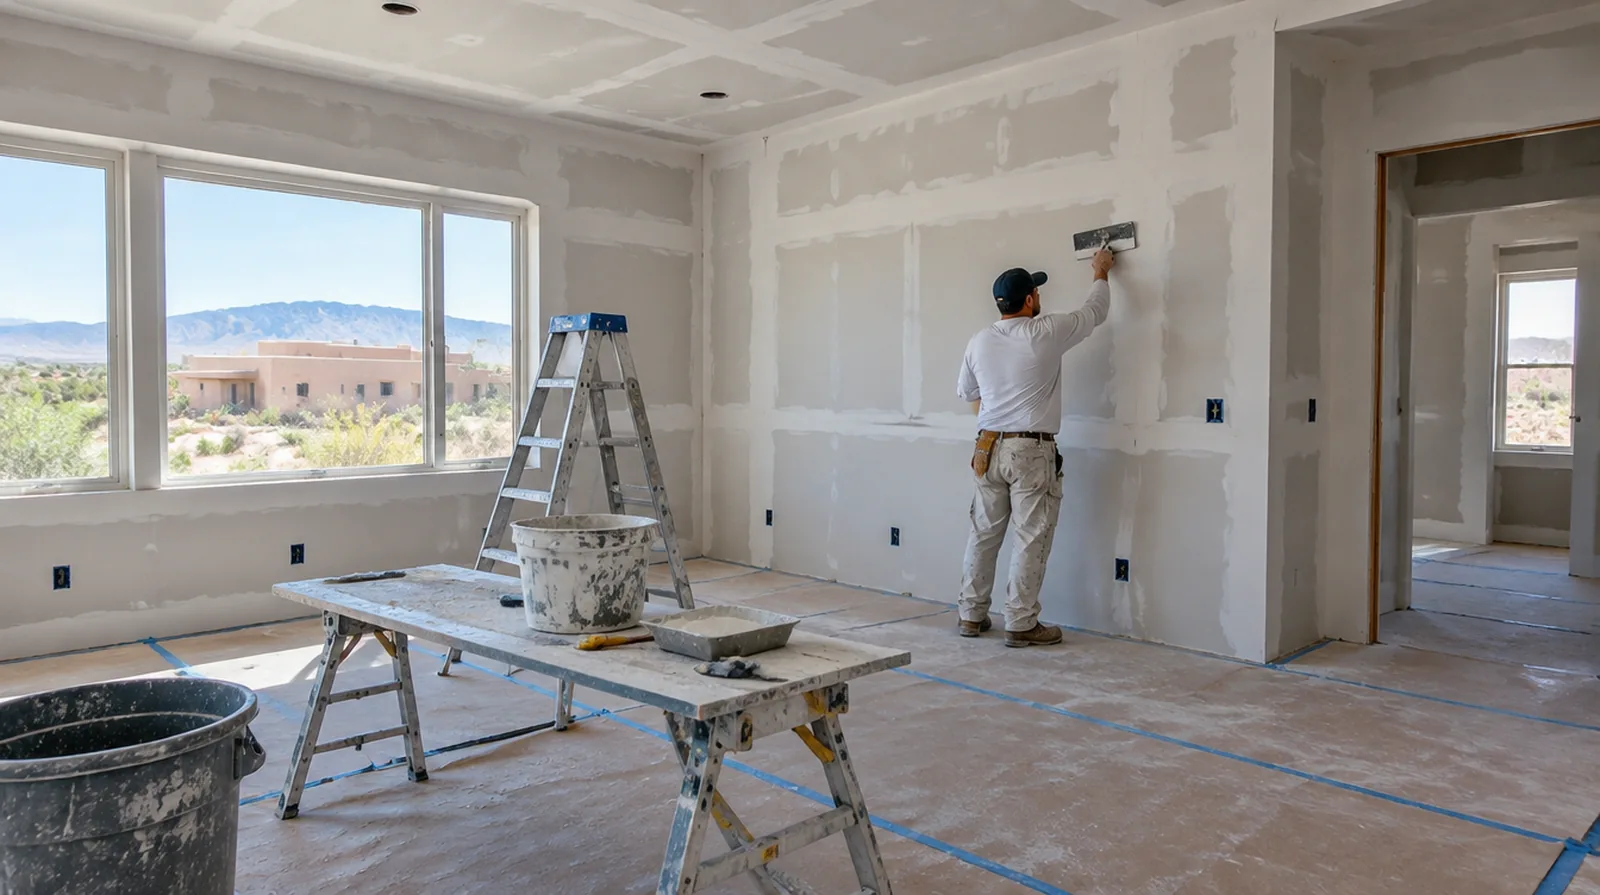
Consider a skim layer
Broad grazing light could reveal a difference in texture between the paper face and finished joints. A suitable skim treatment can help create a more uniform surface when the specification calls for it. If the wall surface work belongs to a broader renovation, coordinate its order with flooring, cabinetry and trim instead of scheduling finishing in isolation.
Allow genuine drying time
Do not judge a coat ready solely because its outer face appears firm. The drying interval changes with indoor humidity, temperature and the available movement of air. If scheduling is the main concern, separate hands on labor from drying intervals instead of treating every visit as a full day of active work.
Choose joint materials
Joint bedding and the last surface coats do not necessarily call for identical products. Choose compatible compounds with regard to their intended purpose, the space and the relevant product instructions. When reviewing the finished work, use the agreed lighting and natural room viewpoints so the assessment reflects the intended use of the space.
Inspect the whole wall
Review corners, returns and service openings as well as the straight seams in the main wall. Use the intended room lighting where practical and include an oblique view across the plane. When building management controls access, agree delivery hours and common area protection before committing to a start or finish date.
Assess the hung board
Finishing cannot fully correct unsupported edges or panels that sit on different planes. Check how the sheets sit and how the fixings hold them instead of beginning with compound immediately. When the wall has strong reflected light, look at the full plane rather than judging only the narrow strip immediately beside the patch.
Keep external corners straight
A corner profile only produces a straight visible line when it is fitted and coated correctly. Dents or twists ought to be corrected before the finish locks them into the wall. Where occupants have dust sensitivity concerns, agree containment and cleaning measures before settling the way the space will be staged.
Embed the tape
A continuous bedding layer supports the tape and reduces the chance of air bubbles along the seam. Inside corners need a crisp fold and balanced coverage on both faces. If the coating stability is unclear, assess which layers are adequately bonded and which ought to be removed rather than simply hidden beneath new material.
Use controlled sanding
Sanding should refine small tool marks rather than grind away a badly shaped joint. Dust extraction and protection matter even for a room with only a few seams. For a tightly furnished room, plan temporary storage and the minimum working clearance before material is carried into the property.
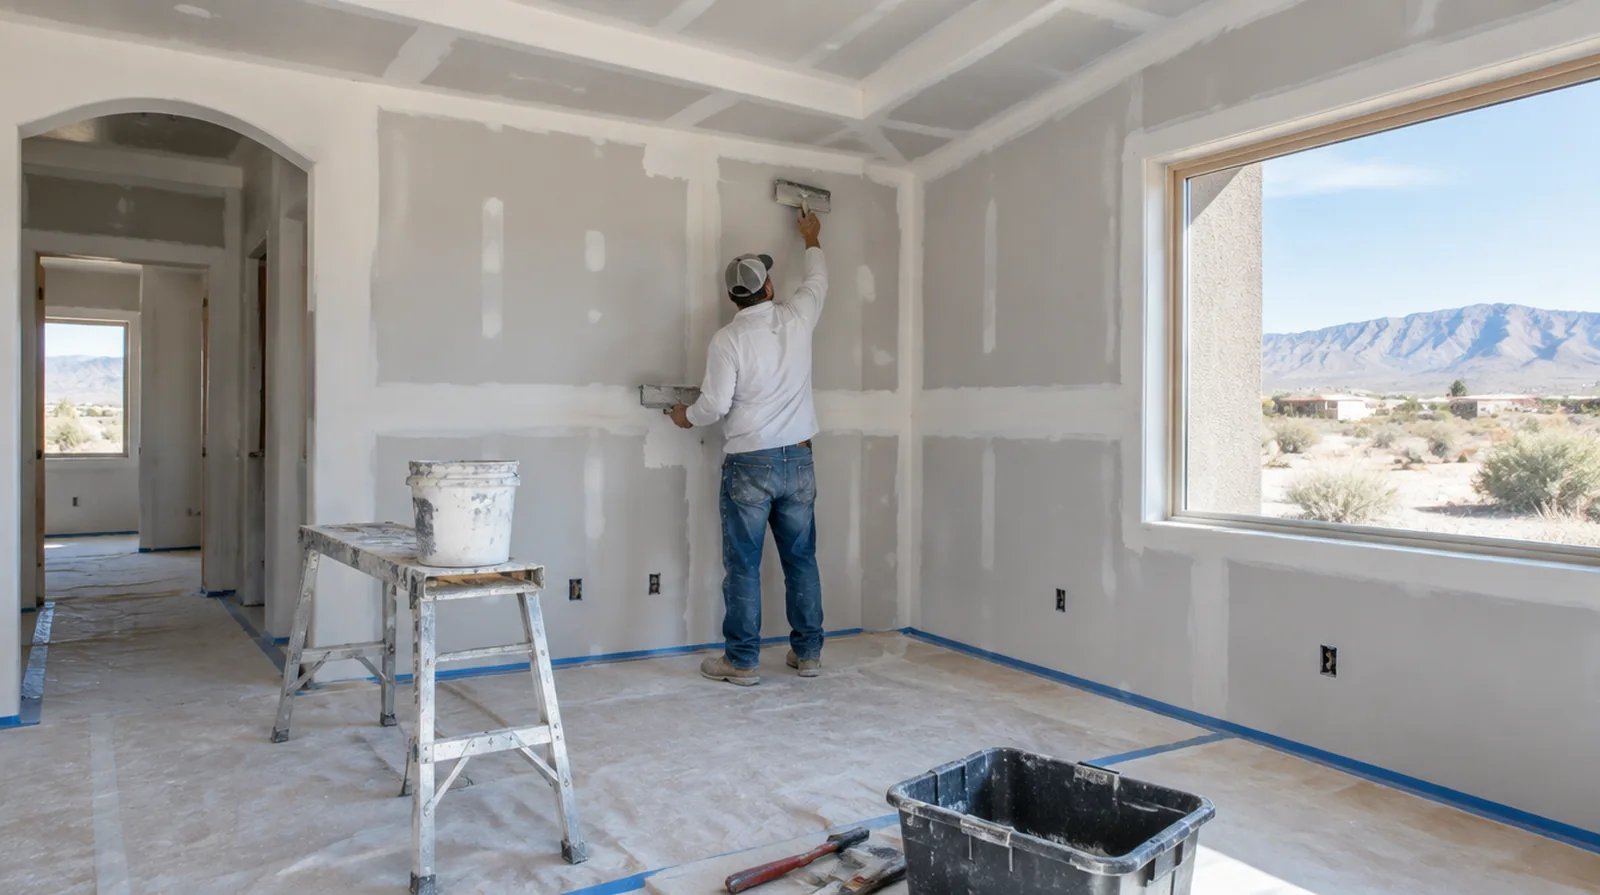
Cover fastener heads
Fastener dimples need enough compound to level the surface without leaving raised spots. A screw that protrudes or has broken the paper ought to be addressed before it is concealed. At a surface receiving strong window light, review a dried trial from the side in addition to the normal straight view of the wall.
Coordinate with the painter
A primer coat sometimes makes small surface defects easier to identify than raw white compound. Establish responsibility for those final adjustments and any review after priming before the work starts. For a small repair with extensive setup, compare the total scope rather than assuming the price should follow the hole dimensions alone.
Project context in Rio Rancho
Rio Rancho homes are often stucco outside with drywall inside, and the dry climate shapes how repairs behave. Ask how the finisher controls drying in summer.
Scope questions before finishing
For a surface carrying numerous paint layers, discuss whether differences in the retained profile or sheen justify decorating a broader area.
For walls beside bright windows, review a dry sample from an oblique angle as well as looking straight at the repaired surface.
When painting is outside the proposal, describe the remaining decorative preparation clearly so another contractor can price that stage accurately.
When a wall has repeated defects, keep a record of earlier repair attempts so a new assessment does not simply repeat an unsuccessful approach.
If the ceiling or wall includes fittings, identify the person responsible for removing and reinstalling each item before the work begins.
For a repair that crosses several surfaces, measure the affected planes separately so the estimate can explain where each finishing treatment starts and stops.
When more damage could be hidden, ask how any added scope will be documented before extra material is removed or replaced.
At a ceiling or wall containing fittings, assign removal and reinstatement duties for the affected devices before repair access is needed.
When reviewing the finished work, use the agreed lighting and natural room viewpoints so the assessment reflects the intended use of the space.
If access passes through a shared space, arrange protection and a delivery route that do not unnecessarily obstruct other occupants.
Before comparing two proposals, check that both include the same protection, finishing and cleanup boundaries rather than comparing totals alone.
For work spread across differing planes, record their dimensions separately and describe the boundary of the treatment on each surface.
Explore the Rio Rancho drywall overview for related options, or read the project planning information before arranging the next stage.
More planning details for Rio Rancho
Compound can dry too fast in very low humidity, which can cause cracking or poor bonding. Great rooms with clerestory windows let strong sun cross the wall and show every ridge. Tract homes usually have a common texture, but it may differ slightly room to room.