Prime before decoration
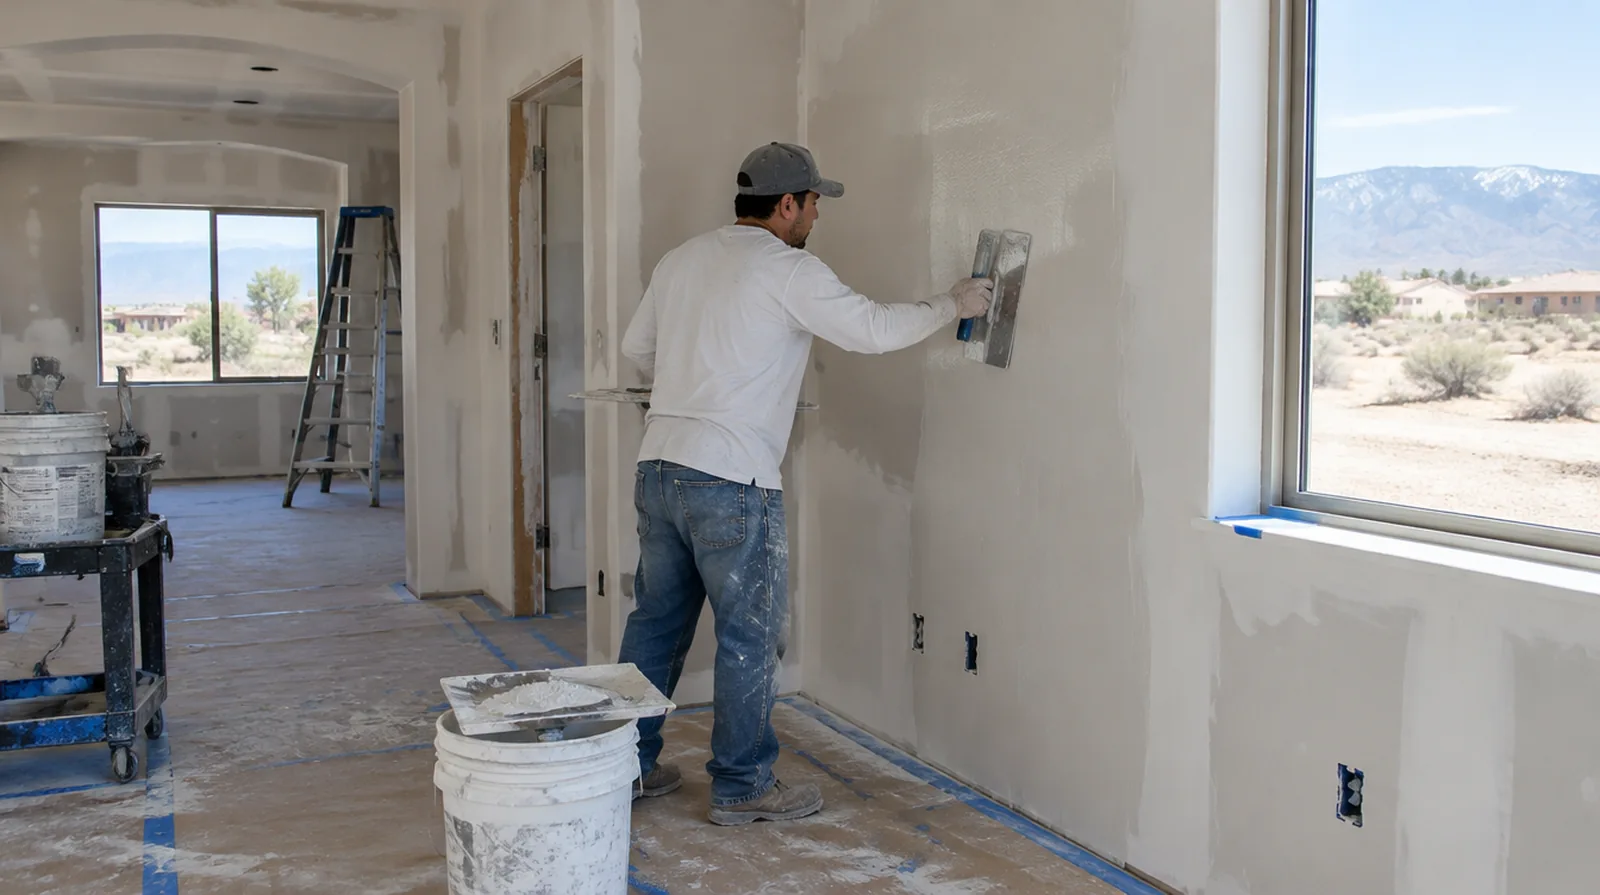
Fresh skim compound needs an appropriate primer before the finish paint is applied. Priming equalizes absorption and can help identify small corrections before the last paint coat is applied. For a distinctive existing pattern, retain a reference sample or detailed picture to make the matching discussion more specific.
Refine with minimal sanding
Good application reduces the amount of sanding needed to achieve a uniform finish. Dust control should still be planned because broad wall work could produce fine airborne particles. For work spread across distinct planes, record their dimensions separately and describe the boundary of the treatment on each surface.
Inspect using side light
Check the dried surface with light crossing it as well as light facing it directly. Review the dry wall under the conditions that will matter after the room is decorated. For a room that stays in use, set a workable boundary around construction while retaining the access people need for normal daily activities.
Apply controlled thin layers
Build a refined surface with controlled applications instead of a heavy unsupported deposit. Deeper texture may require successive passes to level low spots without overloading the high points. When damage followed other building work, describe the nearby alterations and the sequence between those changes and the first visible defect.
Assess the existing coating
A thin new finish depends on the strength of the coating that will remain underneath it. Separate peeling or poorly bonded material from a stable wall that merely needs smoothing. When the decorative coating has been selected, tell the finisher its intended sheen and color while the preparation of the surface standard is still being agreed.
Check underlying movement
Surface refinement cannot stabilize framing movement or repair board that no longer holds securely. Recurring cracks should be investigated and reinforced appropriately before the finish is covered. When more damage could be hidden, ask how any added scope will be documented before extra material is removed or replaced.
Stabilize torn paper
Exposed drywall paper can bubble when it receives wet compound without suitable preparation. Stabilize those paper defects with an appropriate treatment before beginning the broad skim application. For a tightly furnished room, plan temporary storage and the minimum working clearance before material is carried into the property.
Define the smoothing target
Flattening a light texture is distinct from correcting deep waves across an entire wall. The scope should describe what the skim is expected to improve and what remains outside that finish treatment. When painting is outside the proposal, describe the remaining decorative preparation clearly so another contractor can price that stage accurately.
Work around trim carefully
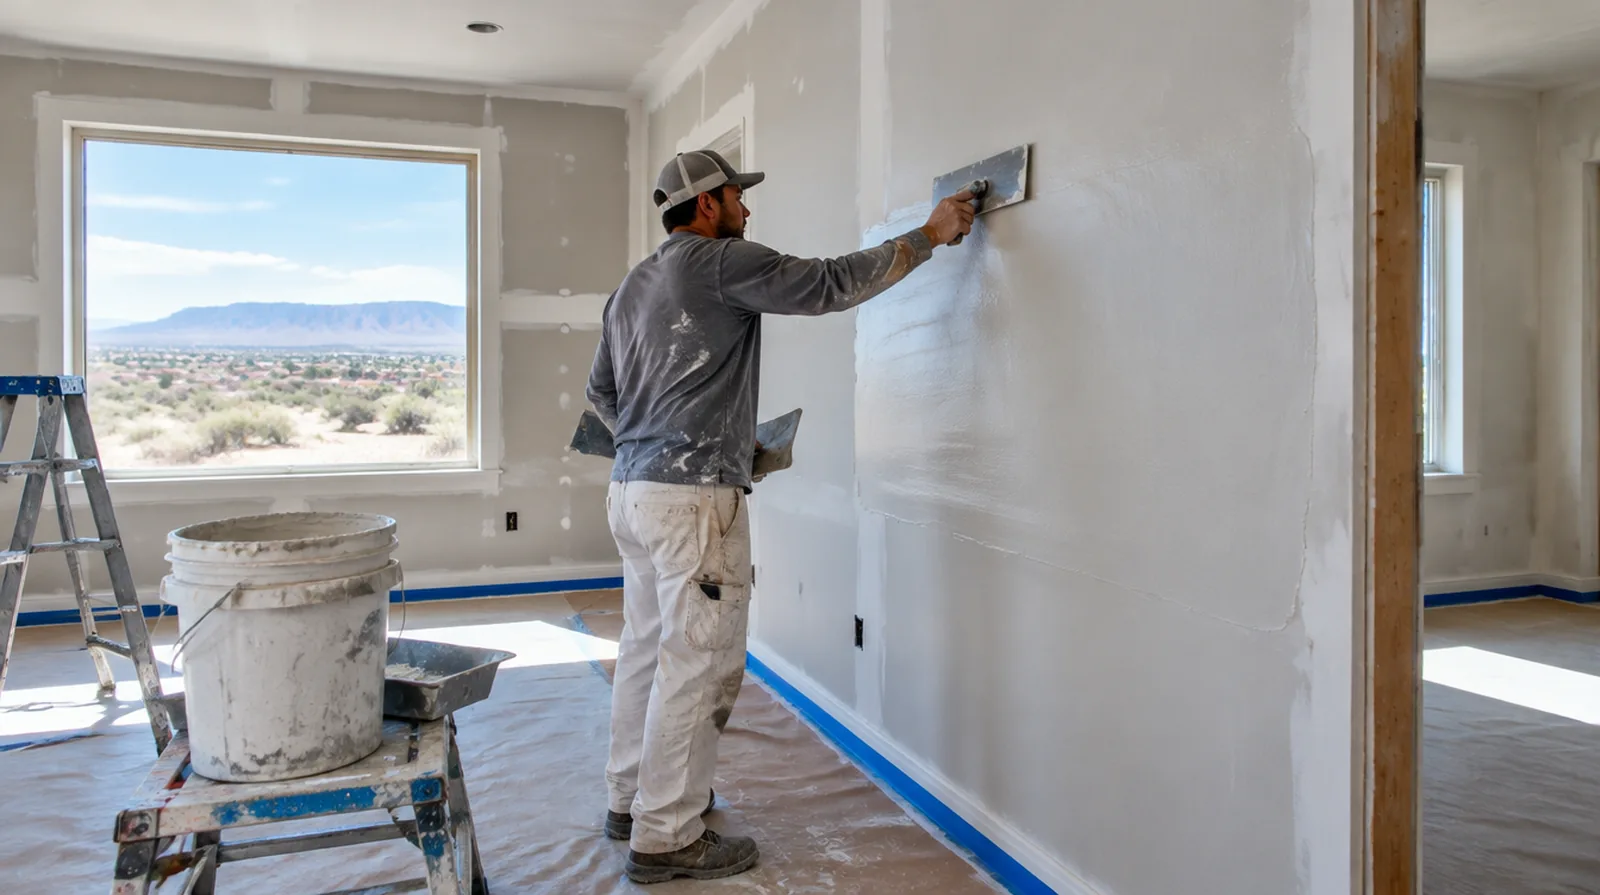
Protect the junctions around frames, baseboards and fittings while planning how the new surface will meet them. Review whether removing trim is worthwhile or whether the finish will stop cleanly against it. For a repair that crosses several surfaces, measure the affected planes separately so the estimate can explain where each finishing treatment starts and stops.
Let each coat dry
Allow each application to become ready for the next under the interior conditions actually maintained. Disturbing soft material too early can undermine an otherwise careful smoothing pass. For a surface carrying numerous paint layers, discuss whether differences in the retained profile or sheen justify decorating a broader area.
Project context in Rio Rancho
Great rooms with clerestory windows let strong sun cross the wall and show every ridge. Rio Rancho homes are often stucco outside with drywall inside, and the dry climate shapes how repairs behave.
Scope questions before finishing
Where light reflects along the wall, inspect the complete plane instead of limiting the review to the edge immediately next to the repaired section.
Where existing floors will remain, specify protective measures and review the path used by panels, equipment and finishing tools.
Where the quoted work stops before painting, request an explicit description of what remains so the next decorating stage can be priced realistically.
If access passes through a shared space, arrange protection and a delivery route that do not unnecessarily obstruct other occupants.
For a wall receiving a decorative covering, provide its preparation requirements early sufficient for the drywall finish to support that product.
Where occupants have dust sensitivity concerns, agree containment and cleaning measures before settling the way the room will be staged.
When reviewing the finished work, use the agreed lighting and natural room viewpoints so the assessment reflects the intended use of the space.
If the proposal requires return visits, identify the purpose of each stage and the intervals during which finishing material needs to remain undisturbed.
Where a neat final edge matters, agree whether the finish ends against existing trim or whether that trim will be removed and replaced.
When panel replacement exposes a cavity, resolve any required inspection before that opening is closed and the finishing work begins.
For a planned new wall mounted fixture, resolve its backing requirements while the cavity remains open instead of cutting into completed drywall later.
When a wall has repeated defects, keep a record of earlier repair attempts so a new assessment does not simply repeat an unsuccessful approach.
Explore the Rio Rancho drywall overview for related options, or read the project planning information before arranging the next stage.
More planning details for Rio Rancho
Compound can dry too fast in very low humidity, which can cause cracking or poor bonding. Ask how the finisher controls drying in summer. Tract homes usually have a common texture, but it may differ slightly room to room.