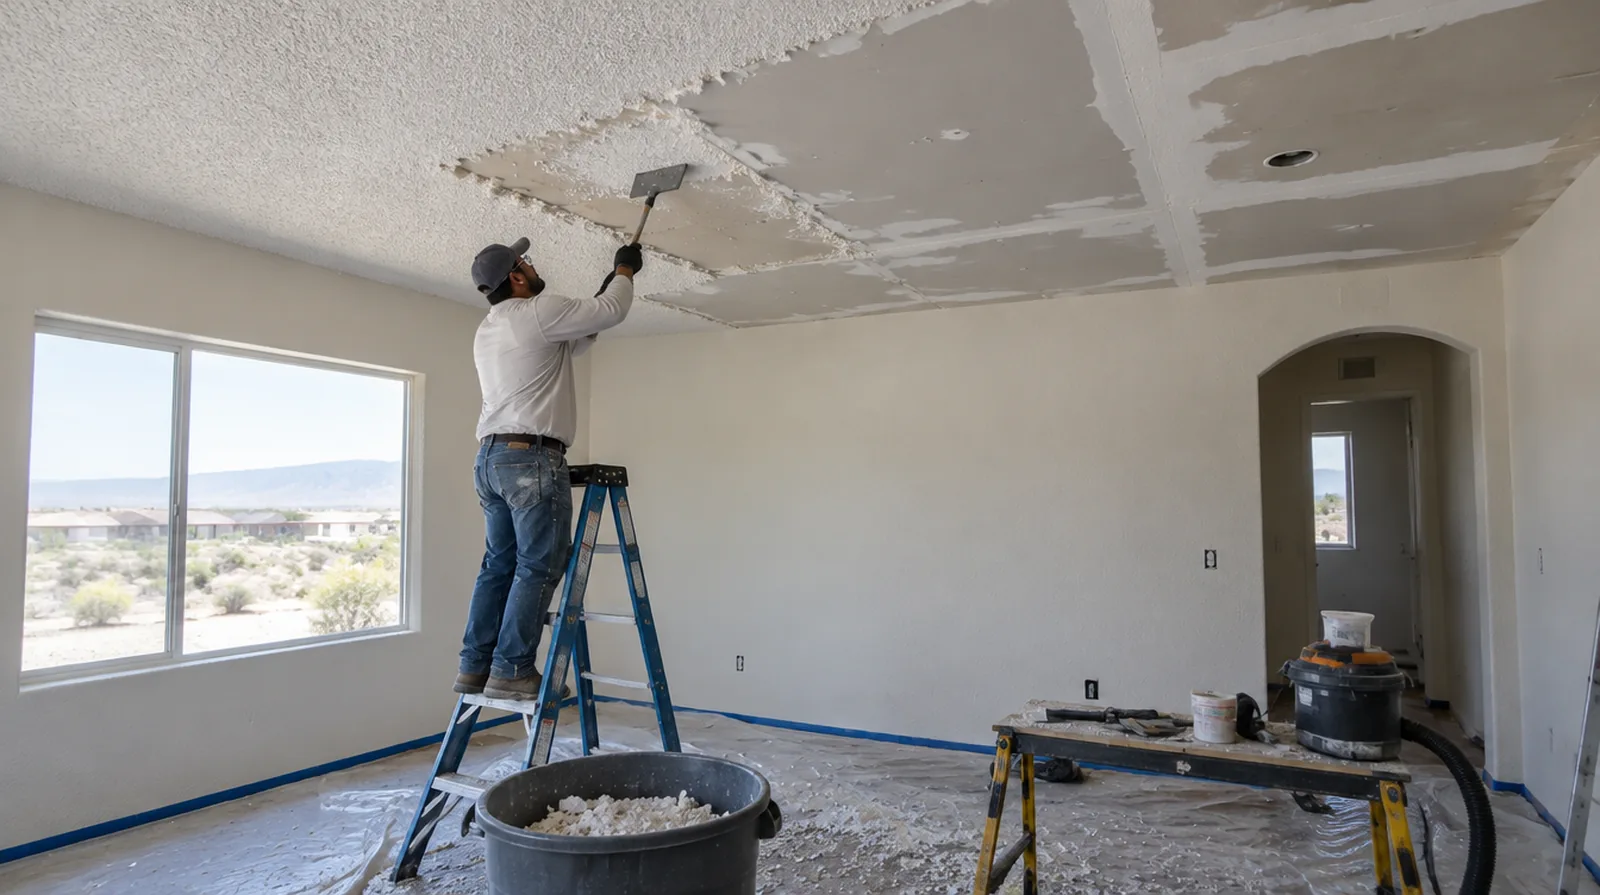
Review ceiling condition
A textured ceiling can hide old repairs and seams that were never prepared for a smooth appearance. Allow for assessment and further finishing after safe removal exposes the original face. For a surface that will receive wall covering, share the product requirements early so the finishing stage supports the planned decorative treatment.
Plan cleanup and reopening
The room should be reviewed after debris removal and the agreed finishing steps are complete. Allow for drying and painting time instead of assuming the space is usable immediately after scraping. If the proposal requires return visits, identify the purpose of each stage and the intervals during which finishing material needs to remain undisturbed.
Confirm primer and paint
The newly exposed and repaired ceiling needs an appropriate coating plan after it dries. Define whether decoration is included or whether the drywall handover ends at preparation for coatings. If the coating stability is unclear, assess which layers are adequately bonded and which should be removed rather than simply hidden beneath new material.
Separate specialist work
Confirmed hazardous material removal is not an ordinary drywall scraping task. A suitable specialist should define containment, handling and disposal before any finish restoration is planned. Where a finished perimeter is prominent, decide whether trim stays in position or is removed before agreeing how the new surface meets that edge.
Protect the entire room
Ceiling removal creates overhead debris that can reach walls, floors and fixtures. Arrange masking, furniture relocation and a suitable removal route rather than covering only a small patch below. Where existing floors will remain, specify protective measures and review the path used by panels, equipment and finishing tools.
Check for painted coatings
Previously painted popcorn texture may resist simple wetting and require a differing removal approach. Assess a controlled test area so the method, labor and potential substrate repairs are understood. Where flooring is staying in place, agree on protective coverings and check that tools and material handling will not damage the noticeable finish.
Account for side lighting
Windows and ceiling fixtures can expose shallow ridges once the heavy texture is gone. A wider skim or more extensive finishing may be appropriate for an original surface not built to remain smooth. If there is a fixed move in date, reserve sufficient time for the coating stages after drywall work rather than counting only the installation period.
Plan fixture coordination
Light fittings, alarms and other ceiling devices could need separate handling by the appropriate trade. The scope should identify who disconnects and reinstalls them rather than leaving that responsibility unclear. Where a finished perimeter is prominent, decide whether trim stays in position or is removed before agreeing how the new surface meets that edge.
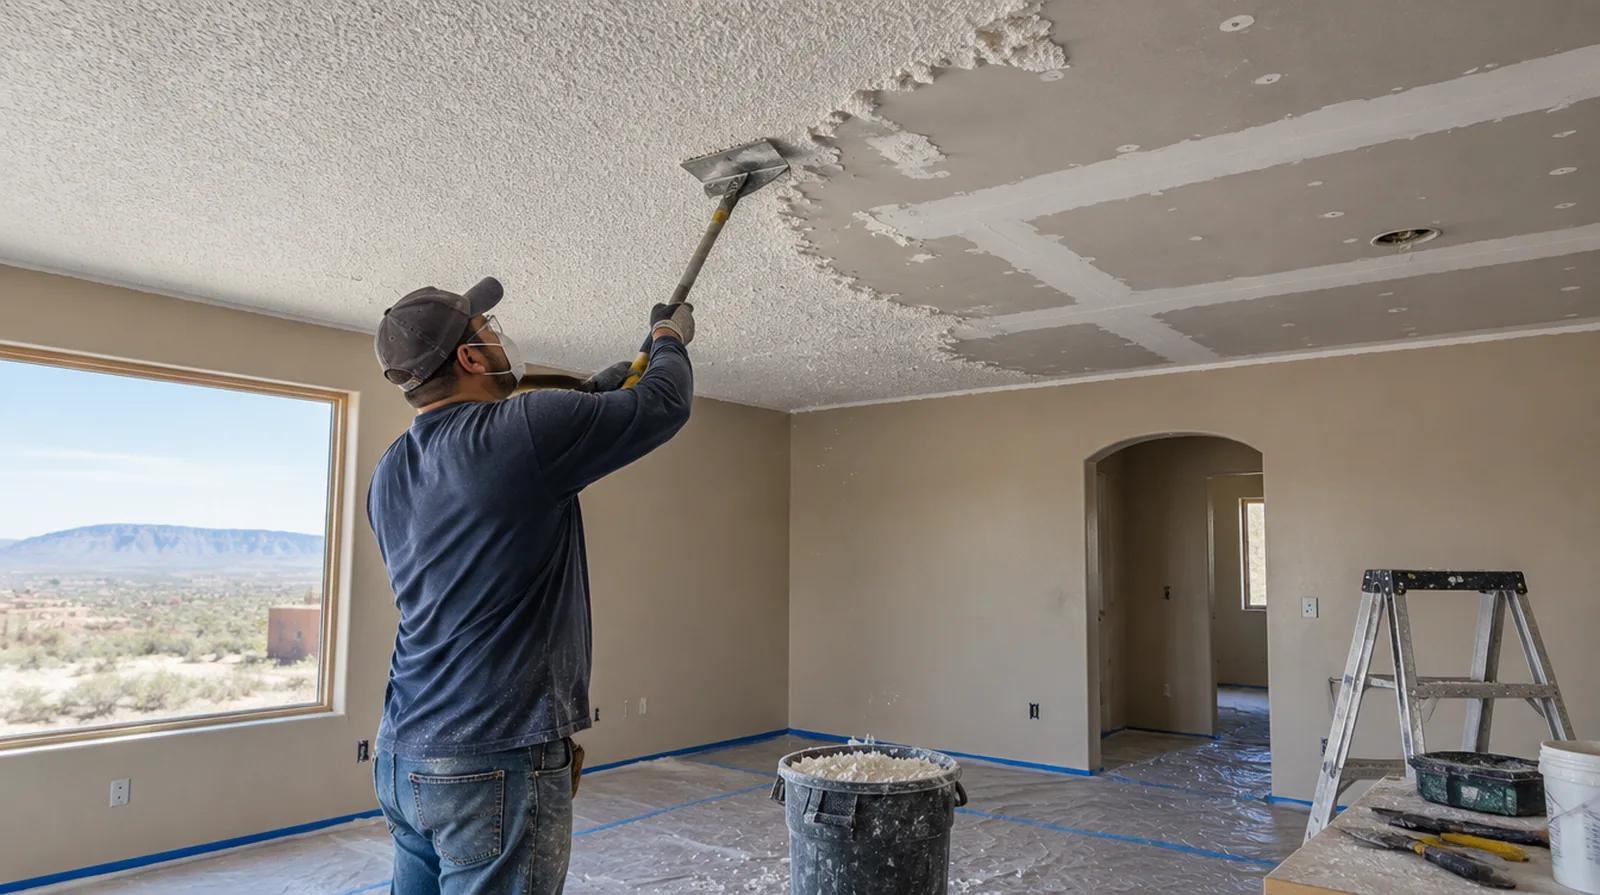
Repair exposed imperfections
Scraping can reveal torn paper, dents and joint defects that need stabilization before a new finish. The repair allowance ought to be discussed before the original texture is removed. If occupancy must resume on a certain day, include the later primer and paint stages in the timetable as well as drywall installation and finishing.
Choose the final surface
A smooth ceiling and a new decorative texture involve different levels of preparation. Decide the intended appearance before pricing so the finishing work supports the right result. If the surface condition is uncertain, allow for an assessment that can distinguish stable material from layers that should never be covered.
Project context in Rio Rancho
A matching texture sample on scrap board helps before working on the wall. Rio Rancho homes are often stucco outside with drywall inside, and the dry climate shapes how repairs behave.
Scope questions before finishing
Where the wall meets fixed furniture, clarify whether removal is included or whether the finish will terminate at the accessible edge.
Where a finished perimeter is prominent, decide whether trim stays in position or is removed before agreeing how the new surface meets that edge.
If the project is part of a larger remodel, settle the sequence with flooring, trim and cabinet work before setting a final finishing date.
If the ceiling or wall includes fittings, identify the person responsible for removing and reinstalling each item before the work begins.
If the decorative coating is already chosen, share its sheen and color early because those choices influence how preparation of the surface is judged.
While a removed panel exposes the wall surface cavity, complete the necessary review of concealed work before replacement board closes the opening.
If the coating stability is unclear, assess which layers are adequately bonded and which should be removed instead of simply hidden beneath new material.
For an initial assessment from pictures, provide an overall room photograph and a detailed view of the defect so both context and scale are apparent.
For a room with restricted airflow, plan drying conditions alongside dust protection and the comfort of people occupying neighboring spaces.
If the problem developed after another renovation, explain which nearby materials or building systems changed before the damage became visible.
In a room with little free floor space, identify temporary storage for belongings and establish sufficient clearance for the work before delivery.
When a paint contractor follows the drywall work, define the surface condition being handed over and decide who handles any minor final touch ups.
Explore the Rio Rancho drywall overview for related options, or read the project planning information before arranging the next stage.
More planning details for Rio Rancho
Compound can dry too fast in very low humidity, which can cause cracking or poor bonding. Ask how the finisher controls drying in summer. Great rooms with clerestory windows let strong sun cross the wall and show every ridge.