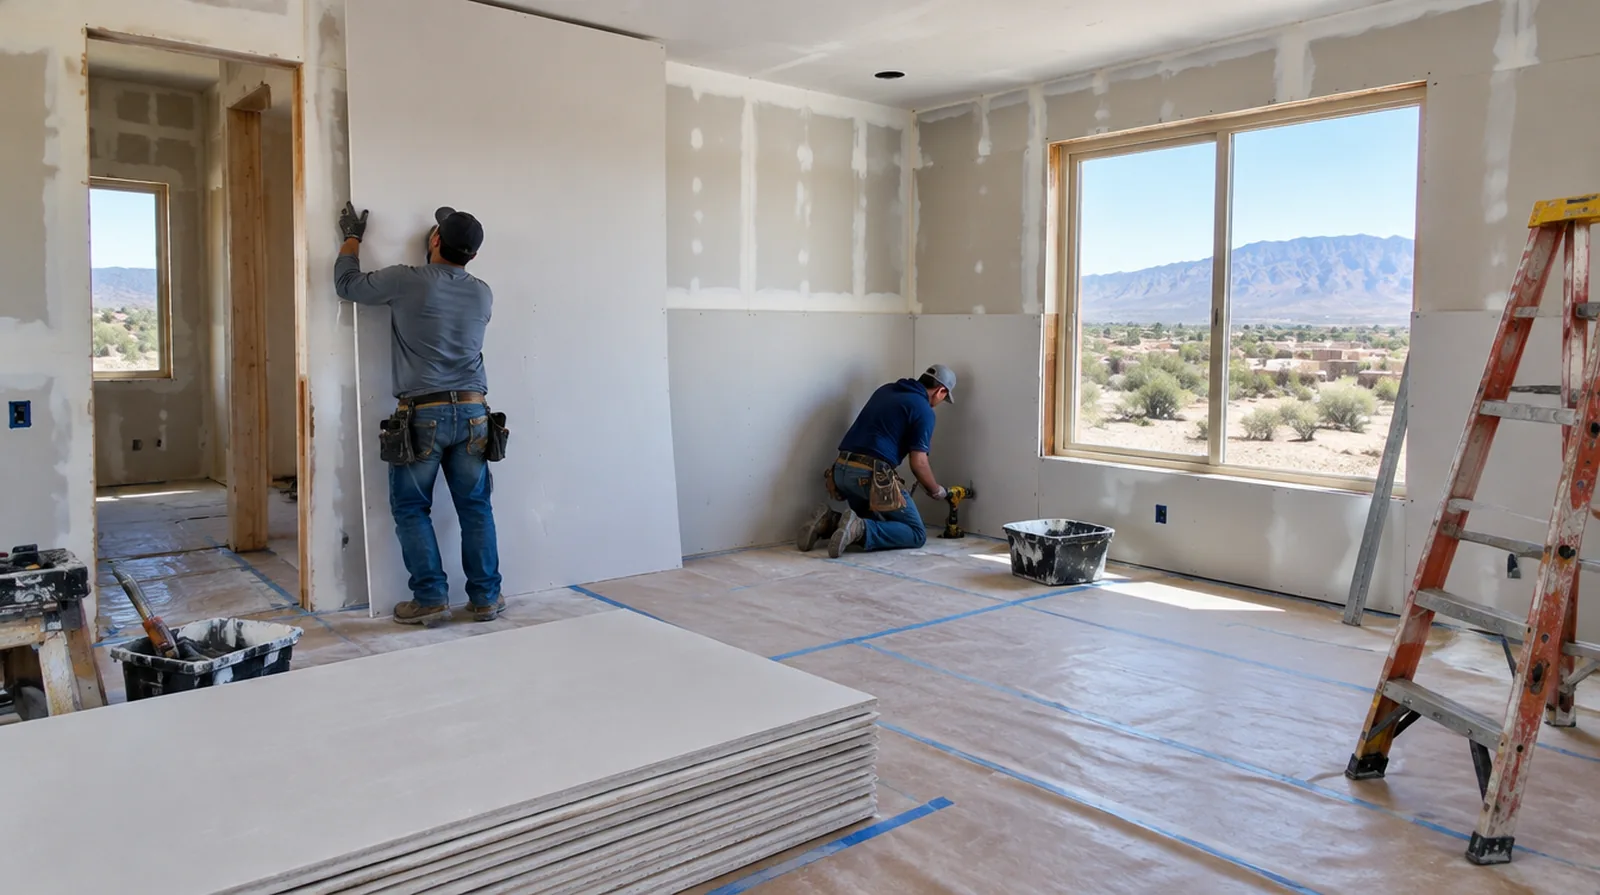
Control fastening depth
Proper fastening holds the gypsum securely while leaving its face paper intact. Overdriven screws and unsupported panel edges make later finishing more challenging and can create visible defects. If the coating stability is unclear, assess which layers are adequately bonded and which ought to be removed instead of simply hidden beneath new material.
Plan deliveries and access
The route into the property places limits on sheet handling that the wall dimensions do not show. Allow for stairs, tight turns and storage when assessing material movement and installation labor. While a removed panel exposes the wall surface cavity, complete the necessary review of concealed work before replacement board closes the opening.
Inspect before decoration
The most useful final review happens after the surface is dry and before cabinets or wall coverings hide the edges. Check the agreed lighting conditions and record any remaining preparation before painting starts. If access passes through a shared space, arrange protection and a delivery route that do not unnecessarily obstruct other occupants.
Select appropriate panels
Choose sheet thickness and panel properties to suit the specified assembly and the intended location. Moisture resistant board is not a substitute for a required waterproofing system in a wet area. For a repair that crosses several surfaces, measure the affected planes separately so the estimate can explain where each finishing treatment starts and stops.
Confirm concealed work
Wiring, plumbing and insulation inspections could have to happen before the cavity is closed. Photographs and a written readiness check help avoid opening a newly installed wall later. For a planned new wall mounted fixture, resolve its backing requirements while the cavity remains open instead of cutting into completed drywall later.
Inspect supporting framing
Drywall follows the framing underneath it, so bowed studs or uneven backing can show through the finished surface. Deal with significant framing irregularities while the structure is exposed, before the boards conceal it. At a surface receiving strong window light, review a dried trial from the side in addition to the normal straight view of the wall.
Sequence the finishing work
Joint treatment needs suitable room conditions and time between coats rather than a rushed pass over damp material. Talk through how ventilation and access will be maintained while other renovation work continues. If the coating stability is unclear, assess which layers are adequately bonded and which should be removed rather than simply hidden beneath new material.
Measure the complete assembly
Calculate the board layout from all the surfaces and openings instead of the interior floor area alone. Planning the sheet arrangement can avoid thin strips and poorly positioned joints beside openings. For a repair that crosses several surfaces, measure the affected planes separately so the estimate can explain where each finishing treatment starts and stops.
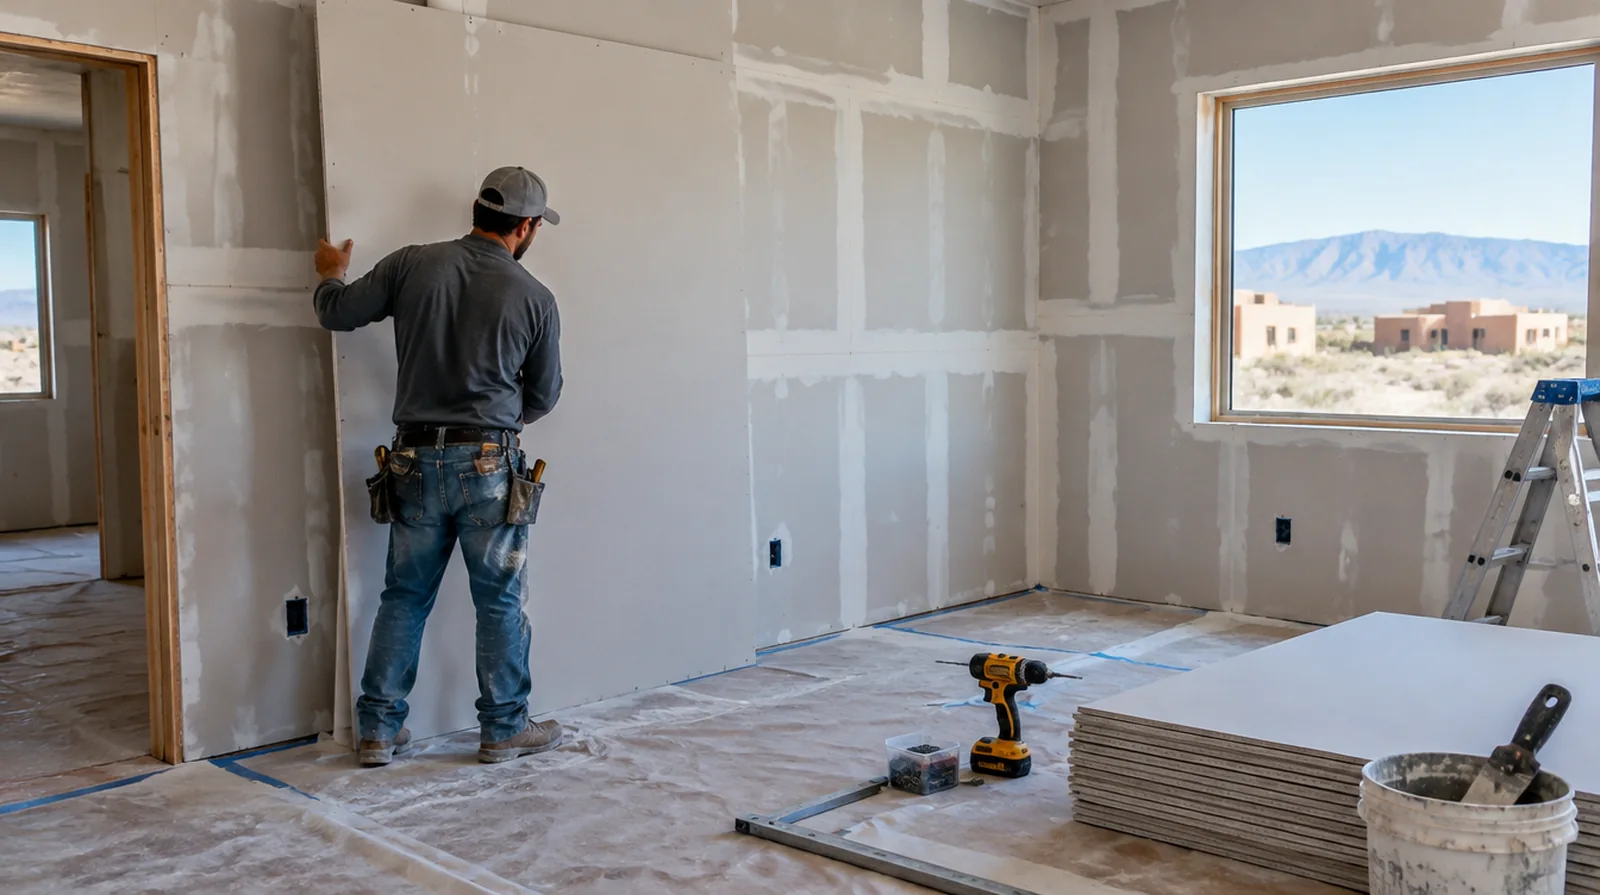
Lay out the joints
A thoughtful sheet layout limits awkward seams and keeps weak transitions away from the corners of openings. The installer should consider both panel support and the surface finishing that follows. Where a neat final edge matters, agree whether the finish ends against existing trim or whether that trim will be removed and replaced.
Treat perimeter details
Connections to adjoining surfaces are part of the wall detail, not merely decorative gaps. The relevant fire or acoustic assembly may specify particular perimeter seals and treatments. For work spread across different planes, record their dimensions separately and describe the boundary of the treatment on each surface.
Project context in Rio Rancho
Ask how the finisher controls drying in summer. Some cracks come from settling soil, so ask whether the crack has been growing.
Scope questions before finishing
Where light reflects along the wall, inspect the complete plane instead of limiting the review to the edge immediately next to the repaired section.
When panel replacement exposes a cavity, resolve any required inspection before that opening is closed and the finishing work begins.
When photographs are used for an initial discussion, include a wide room view as well as a close view so scale and surrounding finishes are understandable.
For a room with restricted airflow, plan drying conditions alongside dust protection and the comfort of people occupying neighboring spaces.
If scheduling is the main concern, separate hands on labor from drying intervals instead of treating every visit as a full day of active work.
When the history of a repair is uncertain, note when it became visible and whether its appearance has altered across differing seasons.
If the problem developed after another renovation, explain which nearby materials or building systems changed before the damage became noticeable.
For a surface that will receive wall covering, share the product requirements early so the finishing stage supports the planned decorative treatment.
For a project with several trades, agree which inspection or handover point must happen before the next person starts work.
Where a neat final edge matters, agree whether the finish ends against existing trim or whether that trim will be removed and replaced.
If access passes through a shared space, arrange protection and a delivery route that do not unnecessarily obstruct other occupants.
When a paint contractor follows the drywall work, define the surface condition being handed over and decide who handles any minor final touch ups.
Explore the Rio Rancho drywall overview for related options, or read the project planning information before arranging the next stage.
More planning details for Rio Rancho
Rio Rancho homes are often stucco outside with drywall inside, and the dry climate shapes how repairs behave. Compound can dry too fast in very low humidity, which can cause cracking or poor bonding. Great rooms with clerestory windows let strong sun cross the wall and show every ridge.